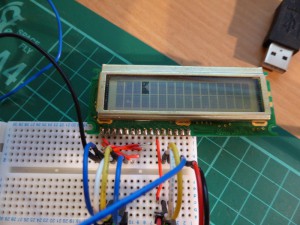
Hi tecsploiters!
If you enjoyed the last post on getting the HD44780 LCD display working using the STM32F4 Discovery then this post will help you take the next step and define you own custom characters for the screen. The full project is available in the downloads section – just register your email to get access.
|
|
The characters on the HD44780 are simply defined using a grid of 0’s and 1’s, these literally map out which pixels are on (1) or off (0) when the character is drawn to the screen. The HD44780 can store up to 8 custom characters which you can define in char array before sending to the screen.
Theres a great online tool for designing your own custom characters which you can find here and is much easier than creating them by hand, characters created with this tool can be pasted straight into the sample project, however the tool is used for 8×8 characters where as the HD44780 uses a 5X8 grid so you will want to bear that in mind (and ignore the first 3 columns).
Each character on the HD44780 is made up of a 5×8 grid, meaning you have 8 rows, and each row is made up of 5 bits. In order to define your character you simply determine what bits need to be on or off for a particular row, and then convert that row to a hex number.
For example if you wanted the very top row to be all on (a straight line) you would want
11111 = 31 (in decimal) or = 1F in hex (0x1F)
you will see in the code pacmanopen[] which defines the little pac-man with his mouth open, this is defined as :
unsigned char pacmanopen[] = {0x1f,0x36,0x7c,0xf8,0xfc,0x7e,0x7f,0x3f};
Each element in the arras is a hex number, that represents the desired bits that must be on for each row ie
row1: 0x1f – 11111
row2: 0x36 – 110110
With a little work you can even create a little animation as you can see in the youtube video below – which shows the demo project running – all its doing is switching between my two custom pac-man characters.
The full project is available here – have fun! 😉
